


Eyelash Extension Mapping: An Introduction
One of the most important parts of being an eyelash technician is knowing how to do eyelash extension mapping. In the next few articles we are going to go over the basics of eyelash extension mapping and the common types so that you can upgrade your knowledge and skill as an aspiring lash artist! But first we have to ask: What is eyelash extension mapping?
Eyelash extension mapping
Eyelash extension mapping is the blueprint of your lash designs. It provides a guide for you to plan out where and which type of lash and lash fan to place to achieve your desired look. By planning out where each variation of lash and fan will go, it reduces the amount of mistakes you can make and help you work towards creating that perfect set of lashes that your clients will love!
The importance of lash mapping
Reducing mistakes is not the only reason for mapping out your eyelash extensions. Your lash sets should always provide more volume and length to your customer’s natural lashes. Planning and mapping out your eyelash extensions will allow you to visualize and choose certain lash styles. This allows you to select sets like Cat eye sets or Doll eye sets to enhance your clients natural eye shape and overall appearance.
What you’ll need for lash mapping
Before you begin mapping out your eyelash extensions you will need to have all the tools to prepare the lash maps. Luckily, you only need three items:
- Coloured pen: this is for laying out your lash maps. Make sure that the colour of your pen contrasts with your lashes (i.e. not black) and that it is an ink pen
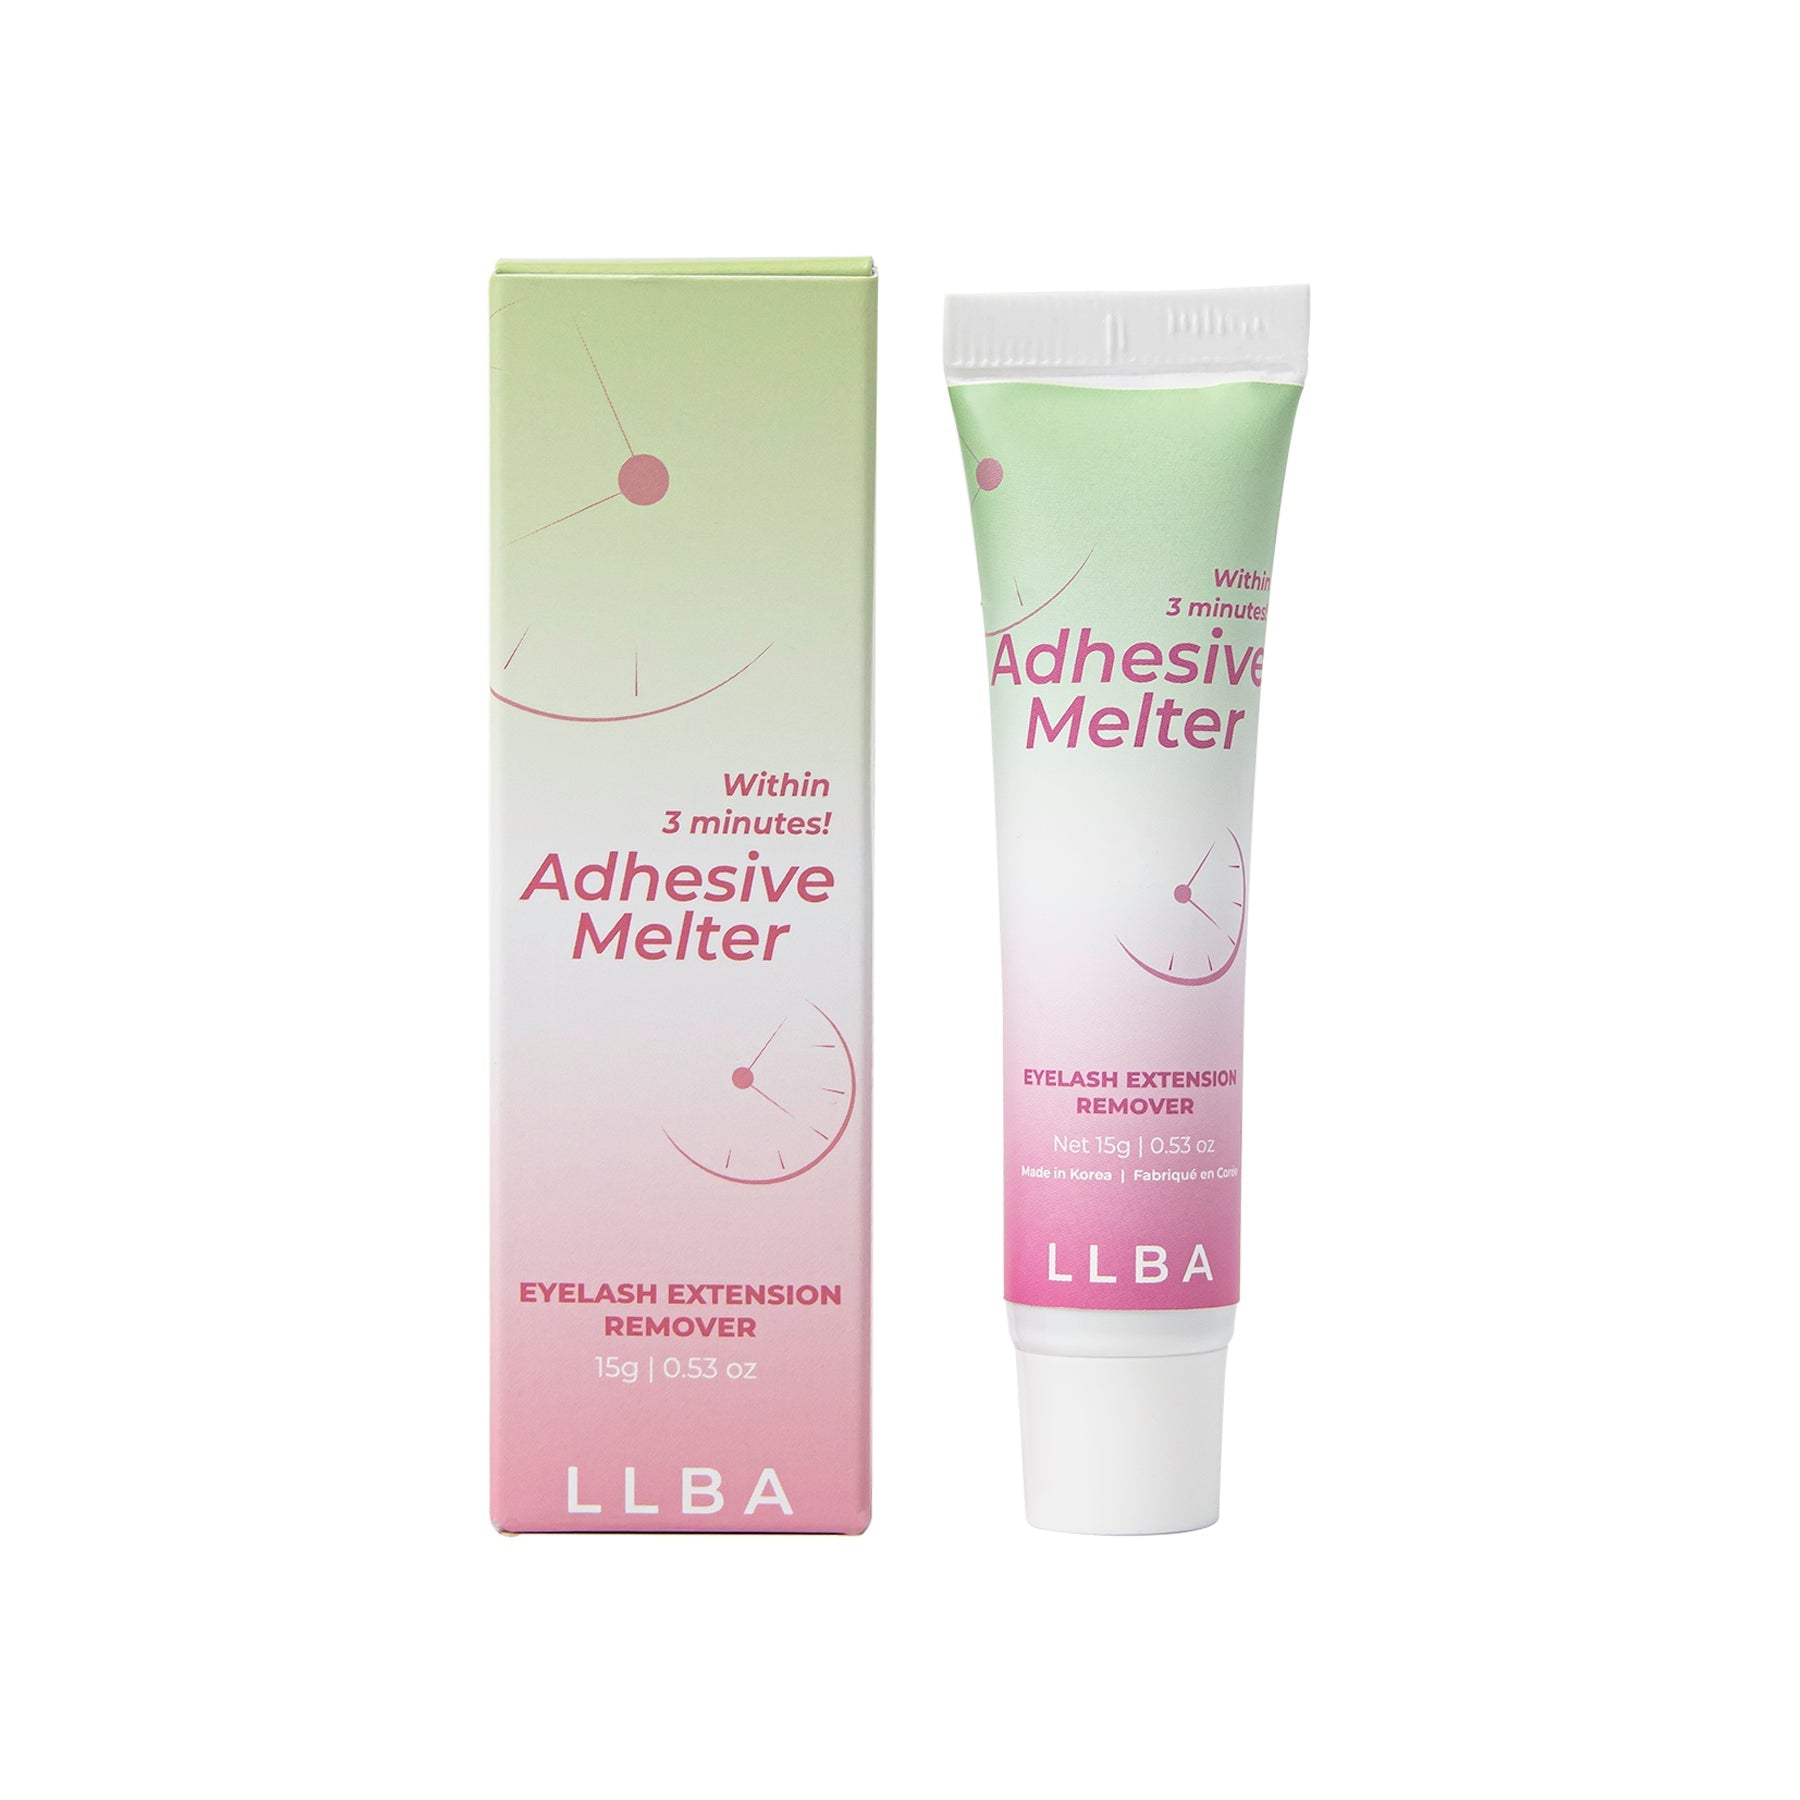
- Gel pads: This is what you will be writing on for your lash mapping. Make sure you use high quality hydrogel pads so that your clients will remain comfortable throughout the lash appointment. LLBA has selected and sourced hydrogel pad products that are used and approved by lash technician professionals.
- Your lashes: A number of different lengths and volume are necessary to create the sets you want. It is very important that you source high quality PBT synthetic silk or mink lashes. For PBT synthetic silk lashes, you can tell if it is low quality if the lashes are brittle and “crunch” vs flexible. Using low quality lashes will result in poor retention and your lashes losing their curl in high heat and humidity.
Common lash maps
There are a ton of different ways you can design your eyelash extension layout for your clients. The most important part is selecting a design that best suits your client’s eye shape and preferences. As a new lash artist just starting off, you should get acquainted with with the most common types of designs:
Doll Eyes

Doll eyes are one of the most common sets you’ll be mapping. This is because doll eyes sets look great on almost everyone! They are ideal for clients with broad set or downturned eyes as doll eye sets make their eyes look bigger.
Cat Eyes

Cat eyes are arguably just as popular as doll eye sets so be prepared to be doing a lot of them! Cat eye sets have their longest lengths near the outer corner of the eyelash and taper off at the edge. Cat eyes will give your clients’ eyes a longer shape, and so this set works best for clients with round and/or closed set eyes.
Natural

Natural sets focus more on enhancing the shape of the natural lash line rather than creating something unique or dramatic. With this shape, the mapping becomes less important compared to following the natural length of your client’s eyelashes and extending them with classic or hybrid eyelash styles. This set is suitable for clients who want an effortless mascara look but don’t want anything dramatic.
Kim K/ Wispy sets

The Kim K/Wispy look is the most complicated mapping mentioned here. It involves one of the lash maps mentioned earlier, but with longer “spike” lashes placed in between the lashes of the maps. This creates that famous Kim K look. This type of set is typically for people with more experience in applying eyelash extensions since there is no lash map template that you can just follow, so there is a lot of customization that is involved in creating that wispy look
How to apply lashes based on your lash maps
As you can see from the examples above each lash map contains a combination of lines dividing the eyelashes with numbers in between. Each number represents the length that should be assigned to each natural lash in between the lines. The exception to this is for Wispy/Kim K lashes where there are “spike” lashes in between the regular sized lashes. When applying your lashes on your client, make sure that you skip the first two natural lashes in their inner eye area. These lashes are very delicate and cannot support the full weight of eyelash extensions.
Customize lash mapping to your clients
What to pay attention before mapping
It is important to realize that each person’s eyes are different from one another. Monolids, hooded, almond shaped, round eyes and other types all play a factor in selecting the best lash map for your client. So if we want our customers to have that stunning look, each mapping will also have to be tailored to each individual as well. Now in order for you to choose the right mapping to enhance your client’s eyes, you need to pay attention to a few things:
- The facial features
Note the face features and the proportions. This will have a big play in the way lash extensions will look like. Pay attention to the arch of their brow, center of the pupil and inner / outer edges of the iris.
- Their eye shapes
It is important to note what eye shapes the clients have. Not every mapping will suit all the eye shapes. The most popular eye shapes are : almond eyes, round eyes, narrow eyes and some people have monolid or hooded eyes. Once you have determined their eye shape, you can start deciding what style best suits them. For the people who have almond eyes, you’ll want to enhance their eyes with longer extensions at the edges. To enhance round eyes, the cat eyes effect is a recommended mapping to give more balance. For monolids eyes, it is more important to find the right curl to lift the natural lash line before choosing the mapping. This will be the best way to customize a set. And finally, for hooded eyes, it is best to use big curl eyelashes to open their eyes. Most of the time, doll eyes could be suitable for every kind of eyes, but not always the best option depending on the effect you are trying to achieve.
- Their natural lash curls
Depending on what kind of effect you are trying to achieve, the natural lash curl is important to consider. This might affect the mapping chosen if not considered.
- Their natural lash lengths
Depending on their natural lash length, you will need to adjust the right lengths to the mapping.
- Their natural lash thickness
Depending on the amount of natural lash the client has and their thickness, it will be possible for you to customize the right lash maps to them. If a client doesn’t have a lot of natural lashes, it will be possible to fill shorter lashes between the lashes to increase the thickness of the set. This will give a bolder look.
How to customize lash maps
To help yourself, have a coloured pen all the time with you, and draw the mapping on the eye pads. Divide the eyes into sections and draw the lengths you want to use in the desired way. This way, you will be able to know which lash to place where, and this will help you to delimit the zones of every length you want to use. It will also allow you to visualize what kind of set you want to achieve at the beginning of the session. You can always ask the client to send you a picture of their eyes prior to the appointment, so you can have an idea of their eye shapes.
Share this
Popular posts

